
Palatine Epoxy Floors has installed epoxy garage floor systems for more than 20 years, and every one in Palatine, IL begins with grinding the concrete open rather than etching it. We coat attached and detached garages across the village, serving surrounding cities including Barrington, Lake Zurich, Prospect Heights, Deerfield, Wood Dale.
A garage floor works harder than any other slab in the house. It carries vehicles, hot tires, dripping oil, dropped tools and, in a northern Illinois winter, a steady supply of salty meltwater. The coating that survives all of that is built from the concrete up, with preparation, primer, broadcast and topcoat each doing a specific job.
Before we quote, we look at the cracks, the old coating and the moisture in the slab, and we tell you plainly if the floor needs repair first. The written proposal names the resin, each layer of the system and the finished thickness, so you can check that what was promised is what went down.
What Goes Into an Epoxy Garage Floor System
Diamond Grinding to a Real Surface Profile
The bond between coating and concrete is set during preparation, not during application. We diamond grind the garage slab to an ICRI concrete surface profile suited to the system, which removes the smooth troweled cream, old sealers and oil-soaked concrete near the surface. Shot blasting does the same job on larger, open floors.
Acid etching is what most kits rely on, and it leaves the weak top layer in place while adding residue that has to be rinsed out completely. Grinding leaves an open, porous surface the primer can soak into, and the dust is vacuumed off rather than washed into the slab.
A 100% Solids Base Coat and Full Flake Broadcast
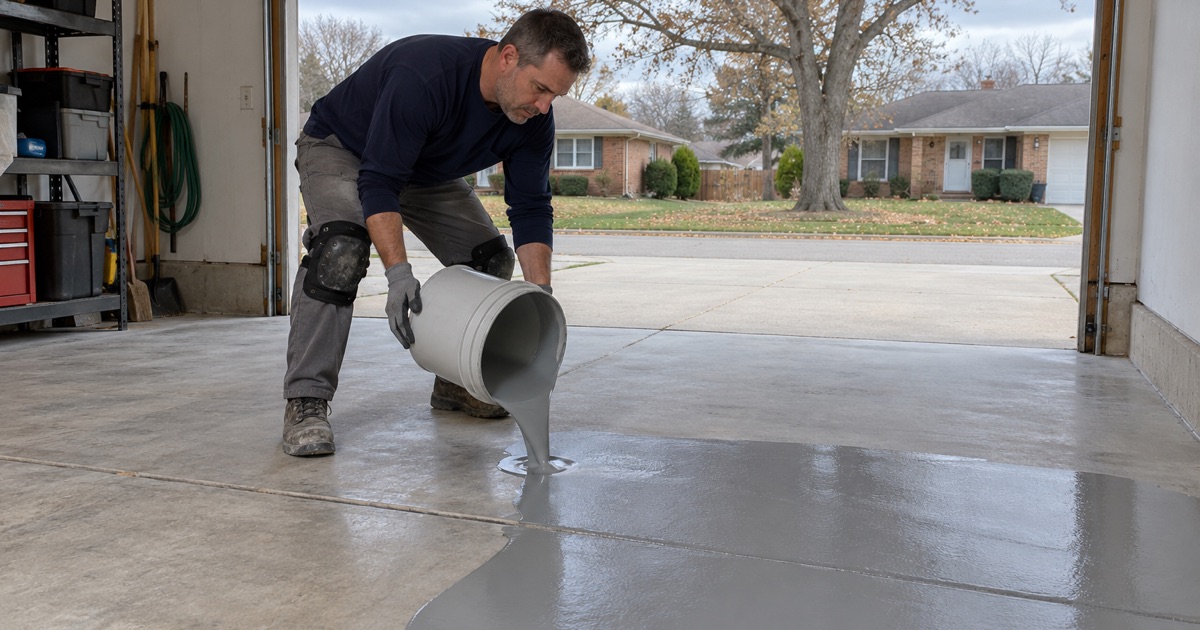
Our standard garage build uses a 100% solids epoxy base coat, which means nothing evaporates as it cures and the thickness applied is the thickness that stays. While the base is still wet, we broadcast vinyl flake until no resin shows through, then scrape and vacuum the loose chips once it hardens.
That full broadcast does more than add color. It gives the floor body, hides minor slab imperfections, adds texture underfoot and masks dust and salt residue between cleanings, which matters in a garage that sees daily traffic.
A Polyaspartic Topcoat That Holds Its Color
The clear coat over the flake takes all the abuse, so it has to be tough. We use polyaspartic topcoats on most garage floors because they resist chemicals and abrasion, hold up better against hot tires, and do not amber in the afternoon sun that pours through an open garage door the way a standard epoxy topcoat does.
Polyaspartic also cures quickly and stays workable at cooler temperatures than epoxy, which helps in spring and fall. The texture is set by how much aggregate goes into the topcoat, so a floor can be made grippier near the entry door where shoes come in wet.
Palatine Garage Slabs and What They Hide
No Vapor Retarder Under Many Garage Slabs
The residential code requires a vapor retarder under slabs beneath living space but exempts garages, and Palatine’s own building amendments leave that exemption untouched. A garage poured to the letter of the code may sit directly on its gravel base with nothing slowing the moisture rising from the ground.
That is why age tells us little about whether a garage slab is dry. We test with a calcium chloride emission kit under ASTM F1869 or relative humidity probes set into the slab under ASTM F2170, and the reading decides whether the floor takes a standard primer or a moisture-mitigation primer.
The Thickened Edge at the Overhead Door
Palatine requires garage slabs to have a thickened, reinforced edge at the overhead door, which carries the weight where the slab meets the driveway apron. That door edge is also where meltwater pools and salt concentrates, so it is often the most worn and contaminated section of the floor.
We grind the door edge carefully, repair any spalling along it, and end the coating with a clean, straight termination so water sheds off rather than creeping underneath. A coating that stops ragged at the door is the first place a garage floor starts to peel.
Sprinkler Heads, Drains and Garage Details
The village requires fire sprinklers in attached garages, so newer garages here often have heads overhead. We mask them during grinding and coating so dust and overspray never touch them, and we keep them clear once the work is done.
Floor drains, step-downs into the house, and the joint where the slab meets the foundation wall each get their own detailing. Those edges are where water collects, and a floor that holds up in the middle but fails at its edges is still a failed floor.
Winter Salt, Cold Slabs and Hot Tires
Calcium Chloride Brine on the Garage Floor
Every winter storm sends calcium chloride and rock salt into the garage on tires and wheel wells. On bare concrete, that brine soaks into the pores, freezes and expands, and over a few seasons the surface scales and spalls, most visibly where the car parks.
A full-thickness coating keeps the brine sitting on top, where it can be squeegeed out the door. The topcoat we choose for garages is selected for its resistance to salt and the chemicals cars leak, and its thickness is written into the proposal so it can be checked.
Curing Against Slab Temperature and Dew Point
We schedule curing by the temperature of the slab and the dew point spread at its surface, not by the calendar. When a slab sits too close to the dew point, moisture condenses on the curing resin and causes amine blush, a waxy film that weakens the bond to the next coat.
An unheated Palatine garage in deep winter can stay too cold for weeks. When readings say the slab is not ready, we say plainly that the job should wait for spring rather than coat it and hope.
Why Some Garage Coatings Lift Under Hot Tires
Tires come off the road hot and soft, and as they cool on the floor they grip whatever is beneath them. A thin coating over a poorly prepared slab lets go and comes up with the tire, leaving bare patches in the tracks.
The cure for hot tire pickup is the whole system working together: a ground slab, a deeply bonded base coat and a hard topcoat. That combination is why a professional garage floor outlasts a weekend kit, even when they look identical on day one.
Our Step-by-Step Epoxy Garage Floor Process
Step 1: Slab Assessment and Moisture Test
We inspect the cracks, the old coating and the door edge, then test moisture. You receive a written proposal naming the system, thickness and any repairs, along with the warranty exclusions read out loud, moisture first.
Step 2: Grinding and Repairs
The slab is diamond ground, old coatings are removed, and cracks and spalls are filled and ground flush. Dust is vacuumed completely before any resin is opened.
Step 3: Base Coat and Broadcast
The primer or moisture-mitigation primer goes down first, followed by the 100% solids base coat and full flake broadcast while the resin is still wet. The broadcast continues until no resin shows through anywhere on the floor.
Step 4: Topcoat and Return to Service
Excess flake is scraped and vacuumed, the polyaspartic topcoat is rolled on, and we give you written dates for walking on the floor and for parking on it, based on the conditions measured that day.
- 20+ Years Coating Concrete
- Moisture Tested Before We Coat
- Free Written Estimates